How To: Fix iOS 7 not delivering texts

How To: Fix iOS 7 not delivering texts

On September 30th, 2013, iPhone users who upgraded to iOS 7 found that texts are not being delivered. Apple knows about the issue and is working on a fix. In the meantime there are a few suggestions on how to fix this, but some people report that they have to keep redoing them.

The first possible fix is to simply turn the phone off and then on. This is done by holding down the button on the top of the phone.

The second possible fix is a bit more complicated and involves going into the phone settings, turning them off, then turning back on again.

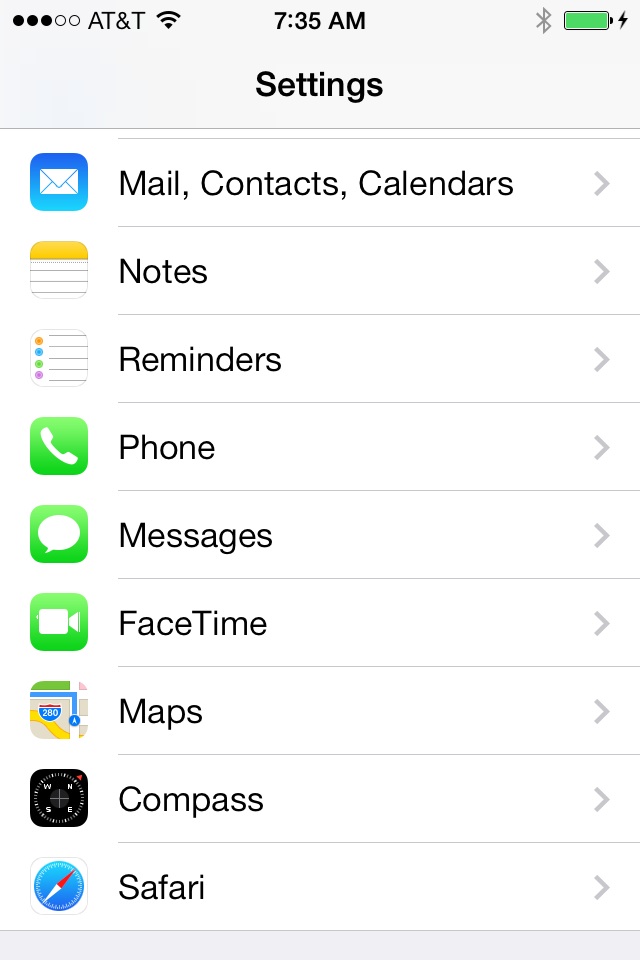
Go into Settings, and then down to messages.
How To: Fix iOS 7 not delivering texts

Go to iMessages at the top
How To: Fix iOS 7 not delivering texts

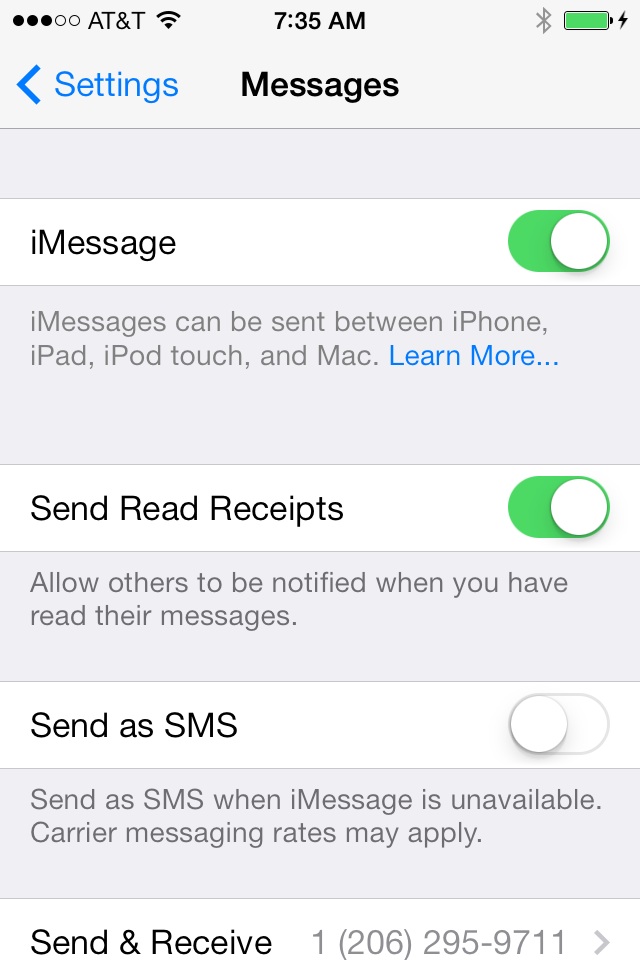
Turn this off by sliding the grey slider bar to the left.
How To: Fix iOS 7 not delivering texts

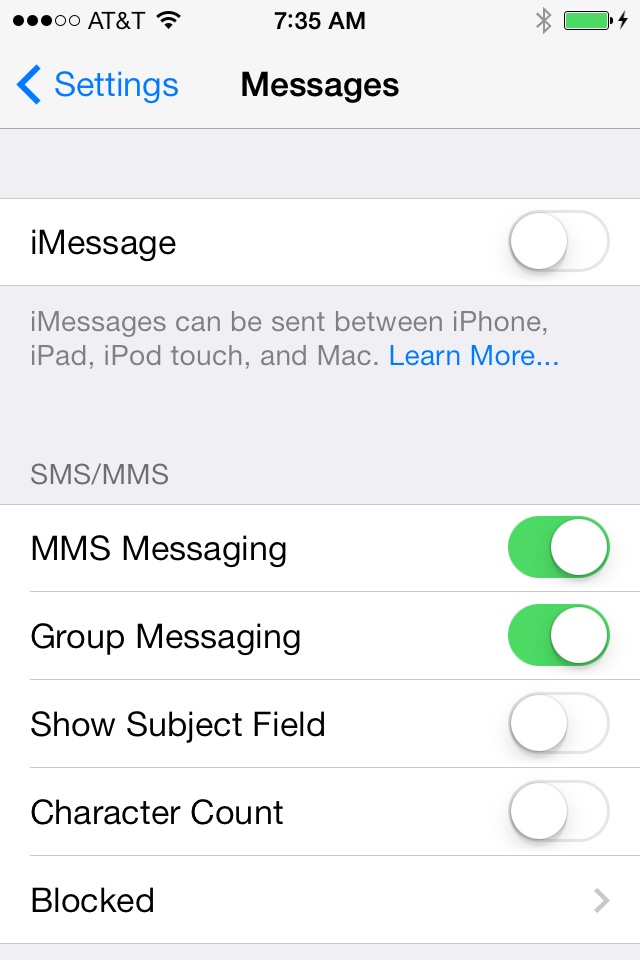
Go out of the system settings, go back in to the same menu and then turn it back on. Some users are reporting that messages in the queue are then sent out. Others report that the message has to be sent again.

If the above does not fix, some people are reporting the following options do.
1.) Reset Network settings. Go into Settings > General > Reset > Reset Network Settings.
2.) Remove and reenter iCloud Account ID. Settings > iCloud
3.) Reload iPhone from scratch in iTunes

If you have any other fixes, please leave them in the comments.

How to reinstall Apple App Store

How to reinstall Apple App Store

The Apple Store now allows Apple to bundle applications in an easy to download “iOS” like way. Since it’s release OS X application manufactures have been slowly moving over to it as a distribution channel for their apps. Some popular apps are now only available via the App store. If you are like me, one of the first things you might have done was to remove the App Store saying “I’m not going to play that game,” thinking we’d be able to continue to download apps as we wished.

Or perhaps you are in a corporate environment where the App Store has made managing Macs nearly a nightmare when it comes to application installation and asset management.

Unfortunately it seems that more and more application authors are going this way. It makes a bit of sense for the authors. It provides a better way to make some money off their hard work. It allows them to more easily digitally distribute their apps. And it saves them money on bandwidth.

The App Store itself is not a separately downloadable application though. The best, and quickest way, to reinstall it is to simply run and see if there is a Mac OS X Combo Updater install ready.

If not, you can download any Leopard or higher version from the Apple Support page. OS X Combo Updater 10.6.8 is a good start for most people; download it from here.

After that, you need to download an application installer program. Pacifist from Charlessoft is a good one.

Mount both Pacifist and and the Combo Updater Package. In Pacifist, go to the MacOSXUpdCombo10.6.8.pkg file and then use the search box in the right hand corner to search for store.


The first option that comes up is the Apple Store. Just click on the install button, make sure the check box “Install as Admin” is clicked, then hit OK. Enter your Administrator Password and Pacifist will start installing the application. When it’s done, go to your Applications and launch the App Store.

Please post in the comments if you have any questions.

How To: Change Mac Icons

How To: Change Mac Icons

Nothing says “Hands off! This is MY Mac” like a highly customized desktop.

http://www.pixelgirlpresents.com/icons.php?page=4&cat=mac

http://interfacelift.com/icons-mac/

Once you’ve chosen a Icon Set (or six,) unpack them to a folder on the desktop.

Right click then Get Info on the new Icon. At the top will be a picture of the Icon, highlight this then use to copy the Icon to your clipboard.

Go back to the folder you’d like to change, IE, your hard drive’s Icon. Right click on it, the go to Get Info. Highlight the Icon at the top, but use this time.

Close the Get Info window, and the Icon should change!

How To: Fix Final Cut and Bonjour issues

How To: Fix Final Cut and Bonjour issues

A lot of companies disable Bonjour on Mac OSX for a variety of reasons, usually because it’s very “chatty” and tends to take up a lot of network bandwidth by itself. It can also cause issues with Printer Sharing, causing print jobs to disappear.

But, some Apple products such as Final Cut, and certain Adobe Suite products demand to have Bonjour enabled.

Luckily Apple Support has a perfect fix for this.

1.) First step is to copy the plist file to make a backup, I like to just add .bak to make things easier in the future:
cp /System/Library/LaunchDaemons/com.apple.mDNSResponder.plist /System/Library/LaunchDaemons/com.apple.mDNSResponder.plist.bak (all on one line)

2.) Open mDNSResponder.plist in your text editor of choice. Doing it from terminal is best.

sudo vi “/System/Library/LaunchDaemons/com.apple.mDNSResponder.plist”

3.) Add “-NoMulticastAdvertisements” to the array in the “ProgramArguments” section.

It starts like this:

ProgramArguments

/usr/sbin/mDNSResponder
-launchd

And needs to look like this:
ProgramArguments

/usr/sbin/mDNSResponder
-launchd
-NoMulticastAdvertisements

4.) After saving the file and closing it, you’ll need to reboot the computer. Keep in mind that if you used EMACS to edit the file, you need to remove the temp file it created, “/System/Library/LaunchDaemons/com.apple.mDNSResponder.plist~” first or your computer will not reboot.

How To: Flush DNS Cache on OS X

Most users don’t need to use this command, but it’s very helpful for web developers and network admins to troubleshoot issues with web sites.

This command is run via terminal.

On Leopard (10.6) and Snow Leopard (10.7):

(as root or admin user) dscacheutil -flushcache

On all other version (10.0 – 10.4):

(as root or admin user) lookupd -flushcache